
Simple Closet Part I
I am excited (and a little nervous!) to share my master closet with you this week. Since my clients are brave enough and willing to open their doors to me, I’m going to step out and be vulnerable too! I will share this project over 2 posts because I have so many pictures! In our bedroom we are fortunate enough to have two walk-in closets. For years we were used to sharing one small closet, so this has been a nice adjustment.
Both of our closets have gotten out of hand because we failed to “plan” for them. I take that back, we put everything in place 2 years ago, but as time has gone on and as our clothing, shoes, etc have changed, we have not adjusted the plan. It is important to evaluate and adjust regularly in any space!
So let me show you what it looked like when I opened the door:
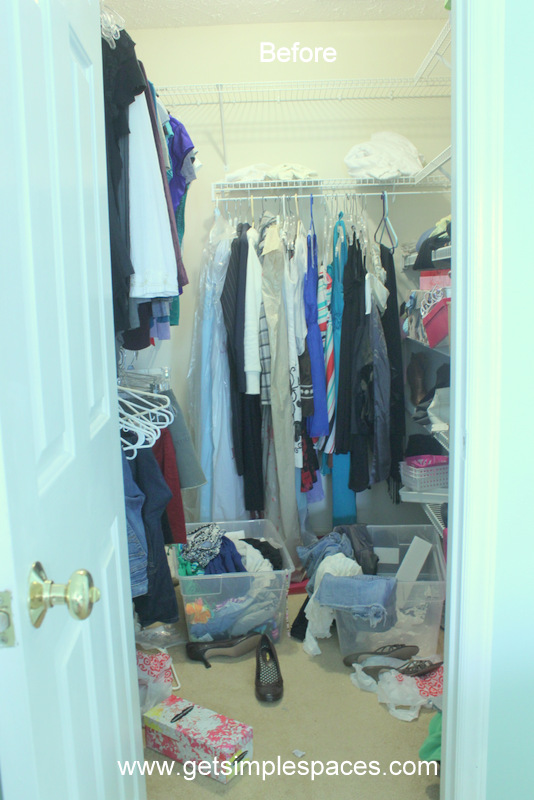
I managed to change out seasonal clothes for everyone except myself a few months ago, so I had a couple boxes on the floor from that. And since clutter attracts clutter, well lets just say sometimes my clothes didn’t make it back to the hangers (or shoes to the shelf).
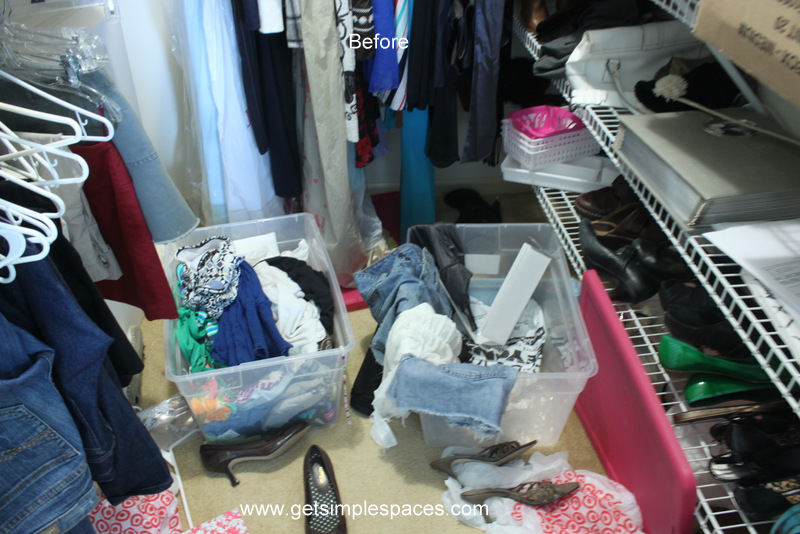
Here’s a close-up of the floor:
Okay so you get the point! I actually do not have a ton of clothes and shoes, so going through the racks wasn’t hard. I guess I’m a minimalist in that sense. I only keep in my closet what I wear. I’d rather have a half-full rack of stuff I LOVE, then a closet bursting at the seams with “stuff.” And if it is out-dated, ugly, or doesn’t fit right, I don’t keep it. I regularly get rid of stuff. Keeping clothes we don’t wear wastes space and takes away from the good ones. You need to look at your choice of clothing and get excited!
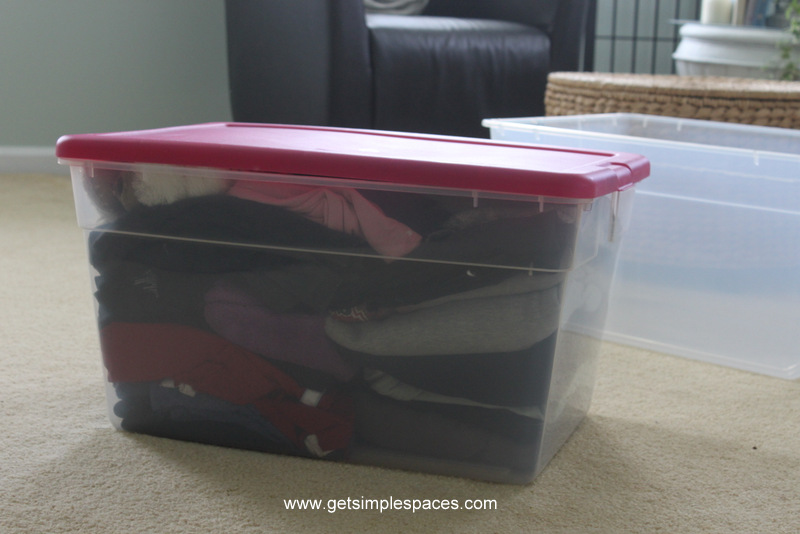
So what I did first was pull my “Spring/Summer” box out of my closet and switch those with the “Fall/Winter” in my dresser. So, I had to reorganize my dresser as well, which I didn’t mind! All my “Fall/Winter” dresser clothing fit into this box here, ready to go on a shelf at the top of the closet:
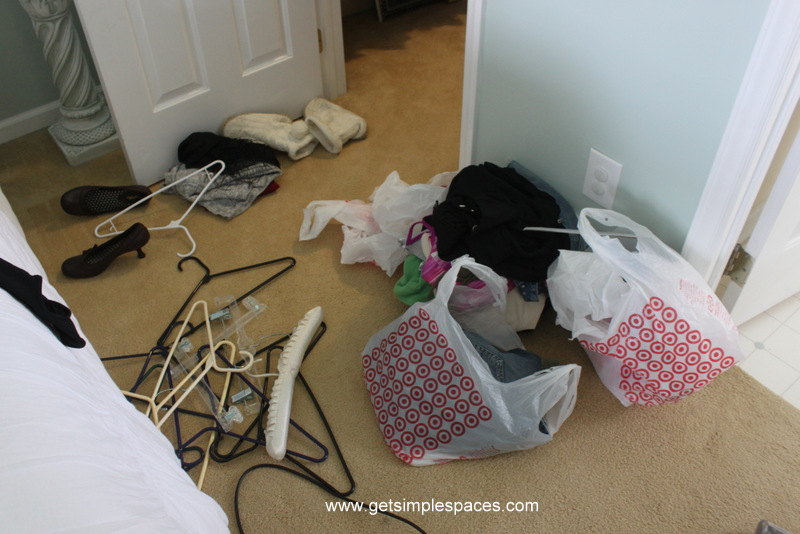
Then, I started working on my hanging clothes. Top to bottom, left to right. I pulled out any empty hangers, and I put all my clothes on hangers that were either white or clear. I already had a pile of clothes started for clothes swap/yard, so I added to that anything I found that I no longer wear.
So let me show you the difference it made to simply switch the hangers and rearrange my clothes. My tops were already separated into Spring/Summer and Fall/Winter, but I organized each group by color and put the Fall/Winter tops in the back. There are tons of ways to do it, but this works well for me. I did the same with dresses, which hang on the single rack in the back of the closet.
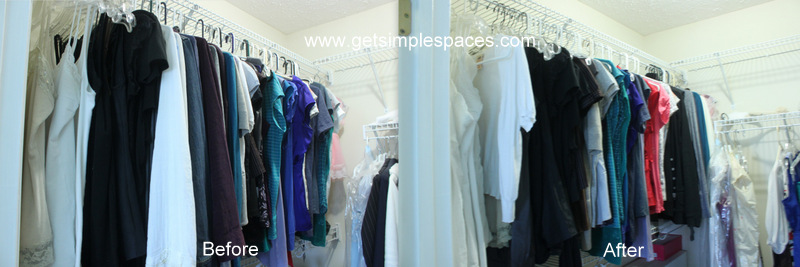
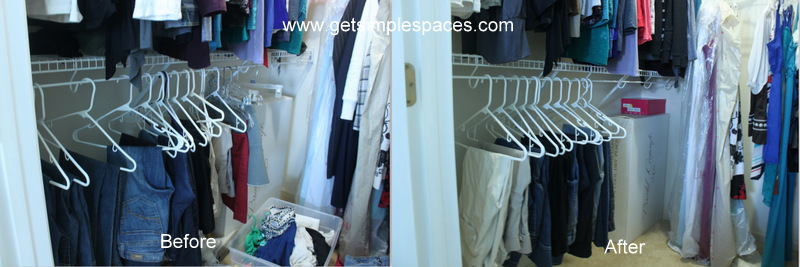
As for pants/skirts/etc: I got rid of a few things and just switched the hangers and rearranged. Ps, that’s my sealed wedding dress & shoes in the back corner!
Looking good right?! I hope you feel inspired to jump into reorganizing yours! If you want to see more, check back next week where I’ll talk about and reveal pictures of the shelves.
I’d love to hear from you! Share the method that works for you on arranging your hanging clothes!
Thanks for reading!
MelissaGet Organized. Simply Live.